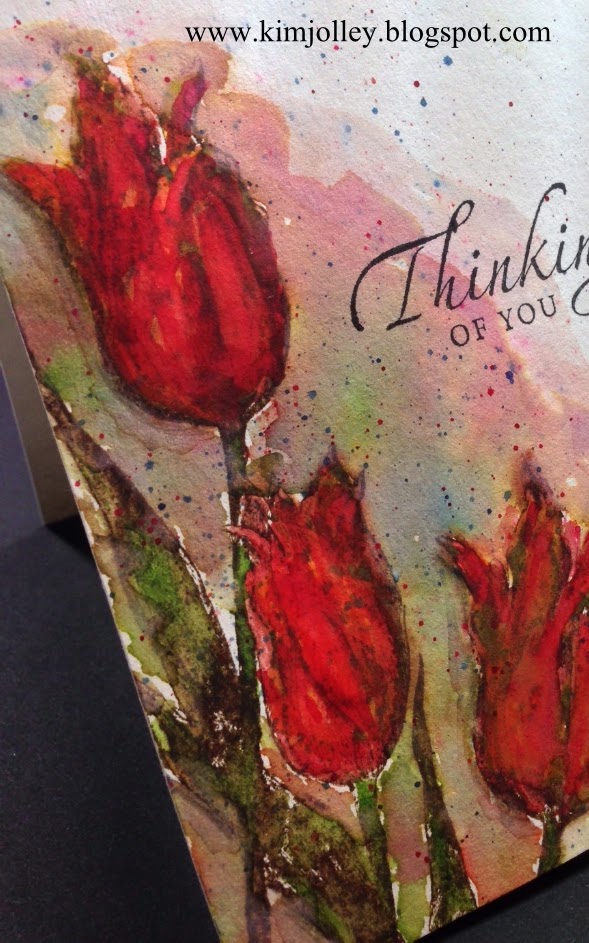
Creating is a passion of mine. At times, I can't sleep for thinking about what I want to try next. I did not start this piece with the intention of it having almost a grunge feel, but it evolved in to that. Again, this piece is inspired by a class I am taking over at onlinecardclasses.com. The main technique is watercolor and the flowers are stamped images from Stampin Up's Everything Eleanor set.
The flourish image is from Stampabilities and the quote is from Stampers Anonymous. Prang watercolors and Distress inks were used to color images and the background.
Quote for the day...
What art offers is space...a certain breathing room for the spirit. ~John Updike
Wednesday, May 14, 2014
Monday, May 12, 2014
Watercoloring with Stamps: a work in progress
I almost thought about this too late this morning. I am going to post the finished project in a later post, but here are a couple of photos of a piece using Stampin Up's Everything Eleanor set. Again, taking complete inspiration from Sanketi.
After this, I started bringing in the deeper colors, including black watercolor and Distress inks in Pine Needles and Forrest Moss.
Sunday, May 11, 2014
Another attempt at lesson 5 from online watercolor card class: Postmark Tulip
I used various Prang watercolors and Distress inks. After the piece dried, I thought the flowers looked too dull and flat. So, I painted each bloom, stem & leaves with Inkssentials Matte Accents. I like this product for a low gloss effect. After that dried, I still felt like I wanted something else. I ended up lightly applying some Distress Stickles in Fired Brick & Peeled Paint. I am happy with the end result.
Saturday, May 10, 2014
online watercolor card class
This is something I have never done before. I have been enjoying playing around with watercolor for a couple of months and love the medium. I stumbled across a very affordable online class over at www.onlinecardclasses.com last Monday and immediately signed up. I normally just watch free videos on youtube, but gladly paid for this class. The fact that some of my favorite artists would be sharing their expertise was a definite plus. The pictures below are from a class assignment taught by someone I have been admiring for a long time. Her blog is http://sanketij.blogspot.com/ and she is a master at using watercolor and rubber stamps to create a very artistic look. So glad I signed up.
Thursday, May 08, 2014
Nature's Silver tag for swap
Various Distress inks and stains. Embossing powder on the stamped image. Distress inks & stains were used to dye the ribbon.
Thursday, May 01, 2014
Butterfly Tag for swap
I used various products and techniques on this tag. A combination of Inktense Blocks and regular watercolor was used to color the tag and the butterfly, along with some Distress inks used randomly on the tag. Ribbon was dyed using Distress inks. An old book page, part of a doily and random scraps of paper were also used. Also used a tiny bit of Distress Stickles.
Tuesday, April 29, 2014
Simple thank you...
I am really enjoying playing with the many ways to use watercolor. This card was inspired by some pins on Pinterest.
Saturday, April 26, 2014
Saturday, April 19, 2014
FYI Guy
FYI Guy...I assist him in this episode!
Jeremy Rabe is fabulous! Crafty, entertaining...the whole package. Look him up on FYI Guy You Tube channel or http://www.fyiguy.com He has tons of great ideas.
Sharpies & Eggs or what my husbands calls "Monegg".
I zigzagged two different colors of Sharpie markers on an egg. Then I swiped and dabbed with a Q-tip dipped in rubbing alcohol. Since I'm not going to eat this, I used a hair dryer on low to speed up the dry time. While I was "painting" it, I used a condiment cup to hold it.
Sunday, April 13, 2014
Asian inspired decoupage project
Adventures with Tyvek
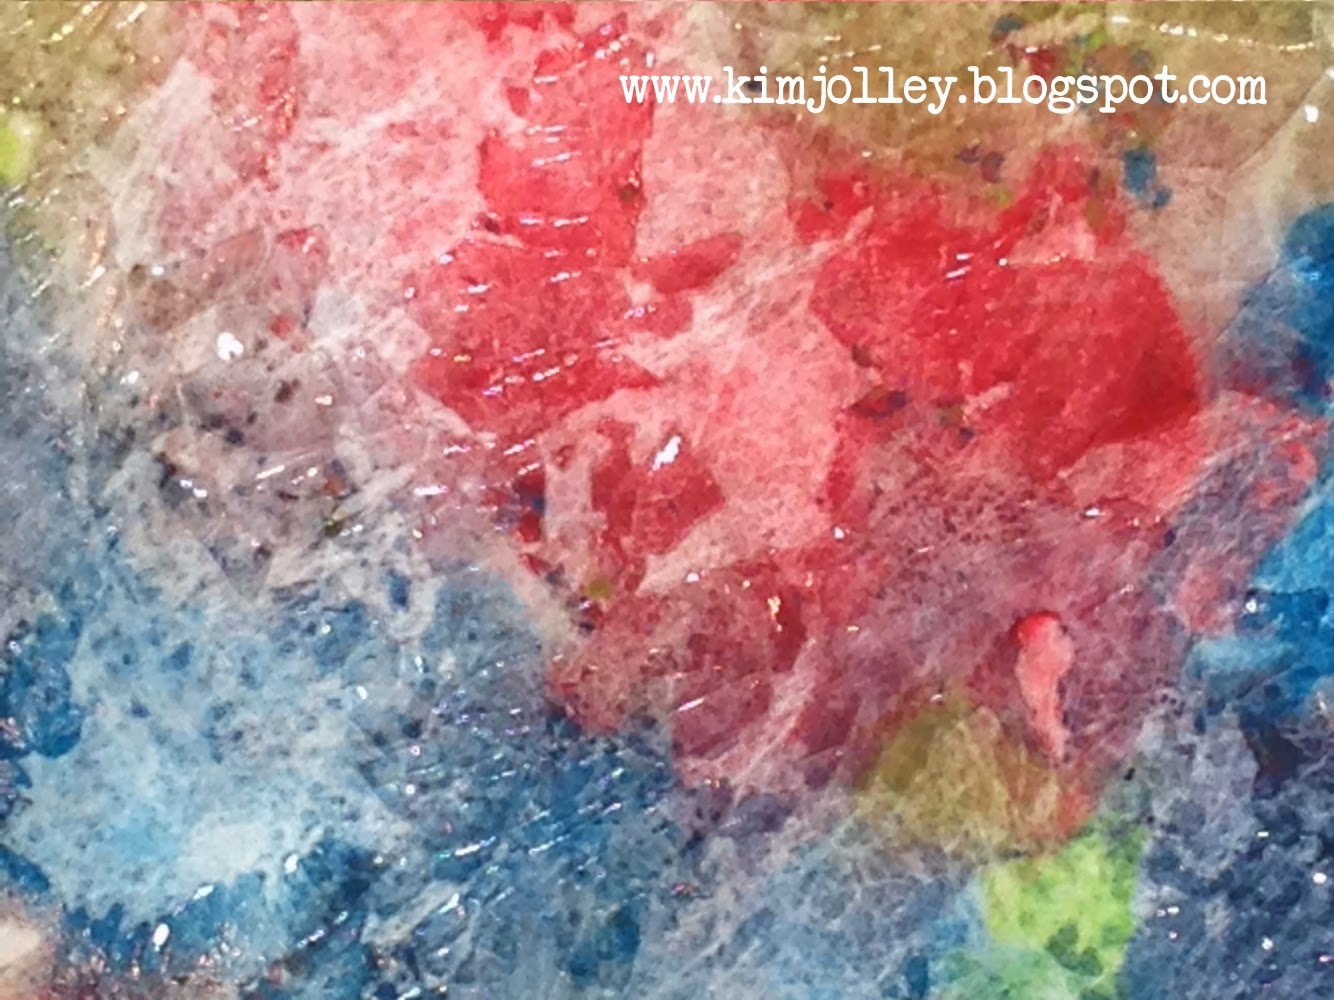
I have been playing with painting on Tyvek this weekend. If I understand it correctly, this is basically the same as Yupo, but I already had this on hand from some old office envelopes. I painted on this panel with Derwent Inktense blocks and randomly dropped alcohol on it while the paint/ink was still wet. I also dropped some large chunks of sea salt in random spots. When it was dry, it looked a bit dull. After looking around my art room for something I could use to give it some shine, I found an old bottle of Beacon's Liquid Laminate, so I brushed some on. I quite like the effect and would like to do a larger piece now that I know the look that can be achieved.
Tuesday, April 08, 2014
Watercolor rose: first attempt
Not great, definitely have not mastered it, but the "how to" videos on youtube are wonderful. This was my little art exercise this morning. Not enough definition, not shaded correctly, but fun to do never the less. Doing this clears my head in a wonderful way before work.
Monday, April 07, 2014
Learning to use watercolor...
I have never been able to sing. Has nothing to do with this post, but thought I should put that out there. No matter how much I try, I don't think I can "learn" to sing. I sound like a cat in a dryer. Not going to happen. I have never been able to draw. This is why I have loved using rubber stamps. However, lately I have been playing around with watercolor. I love this medium and want to get better at it along with simple drawing. Unlike my failed singing, there is something so freeing about even trying this. The first and third photo are what I would call "scribble flowers". The second one is just a little exercise in painting flowers freehand. I got the tips & instructions for those flowers from a website: http://annikalikes.blogspot.com/2013/03/watercolor-tutorial-and-giveaway.html I love it when an artist is so generous with their knowledge. The flowers in the second photo were painted using regular tube watercolors. The other flowers were painted using a combination of those same paints, Derwent Inktense blocks and Distress inks.
Sunday, March 30, 2014
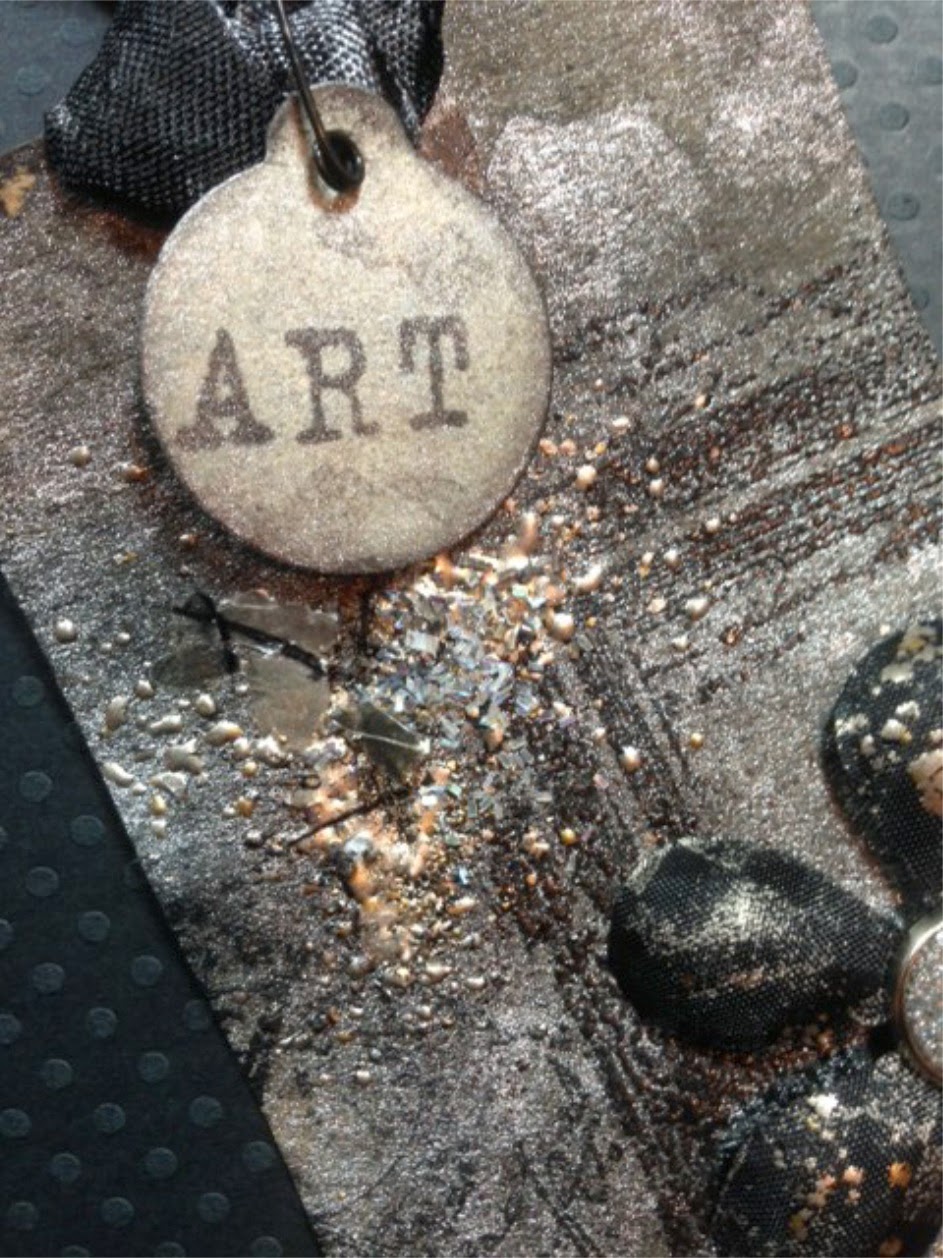
Grungey Silver & Black Tag
I used the Frantage method of embossing with some of the Stampendous embossing powers & glitters. I also used Distress ink & Distress stain to color the ribbon.
Monday, March 24, 2014
Saturday, March 22, 2014
Dream...some watercolor circles.
I am quite fond of circles. This is how I created this look: my card base is 4 x 8 watercolor paper, scored and folded in half. Then I punched a circle from a scrap piece of paper. Using the paper with the hole in it as my guide, I traced 3 circles with watercolor pencils. I then used my water brush to blend the color. I had a bit more of a puddle of watery color where the blue circle was, so I used my Stampin Up color spritzing tool to blow some of the colored water on to the green circle. (I am sure a straw would work equally as well) I really liked the overall look, but thought it needed something to give it a little more detail. While parts of the paper were wet, I poured clear embossing powder on it. I have never embossed with just water & watercolor, but it worked pretty well. Finished it off with a stamped word and a little bling.
Morning 3x4
A never before used Frida stamp (not sure of the brand) and a couple of Stampers Anonymous stamps. Distress inks and water. These little morning art exercises are becoming more and more enjoyable.
Subscribe to:
Posts (Atom)