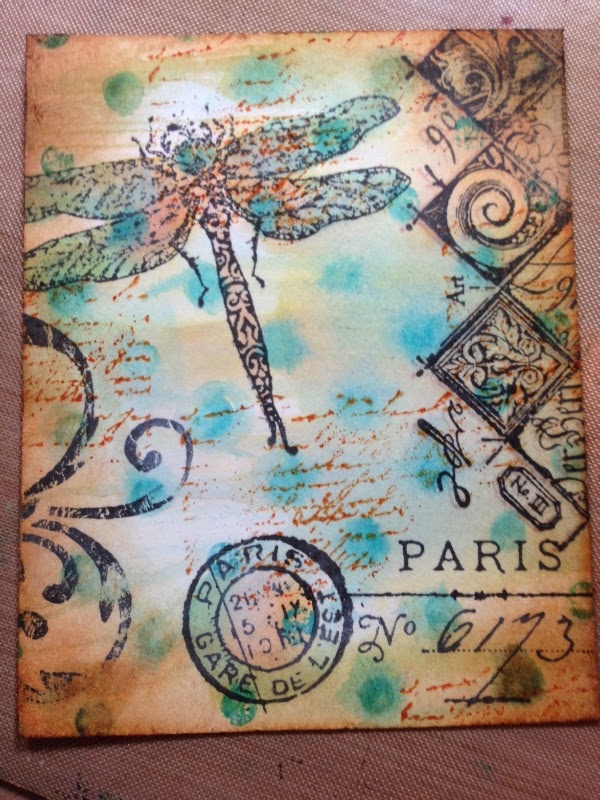
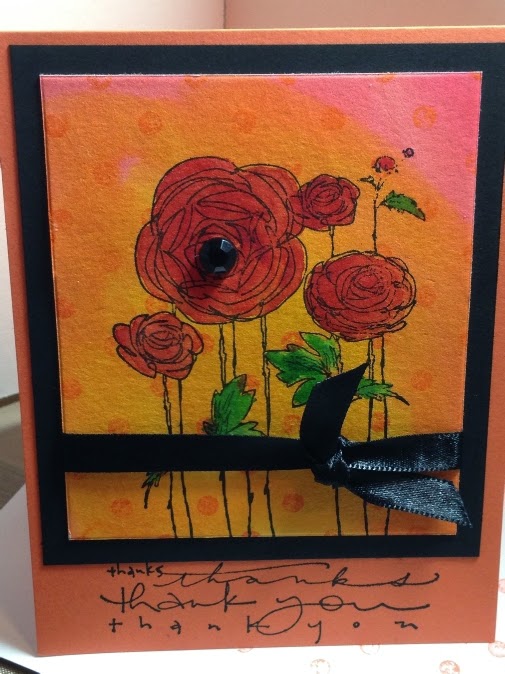
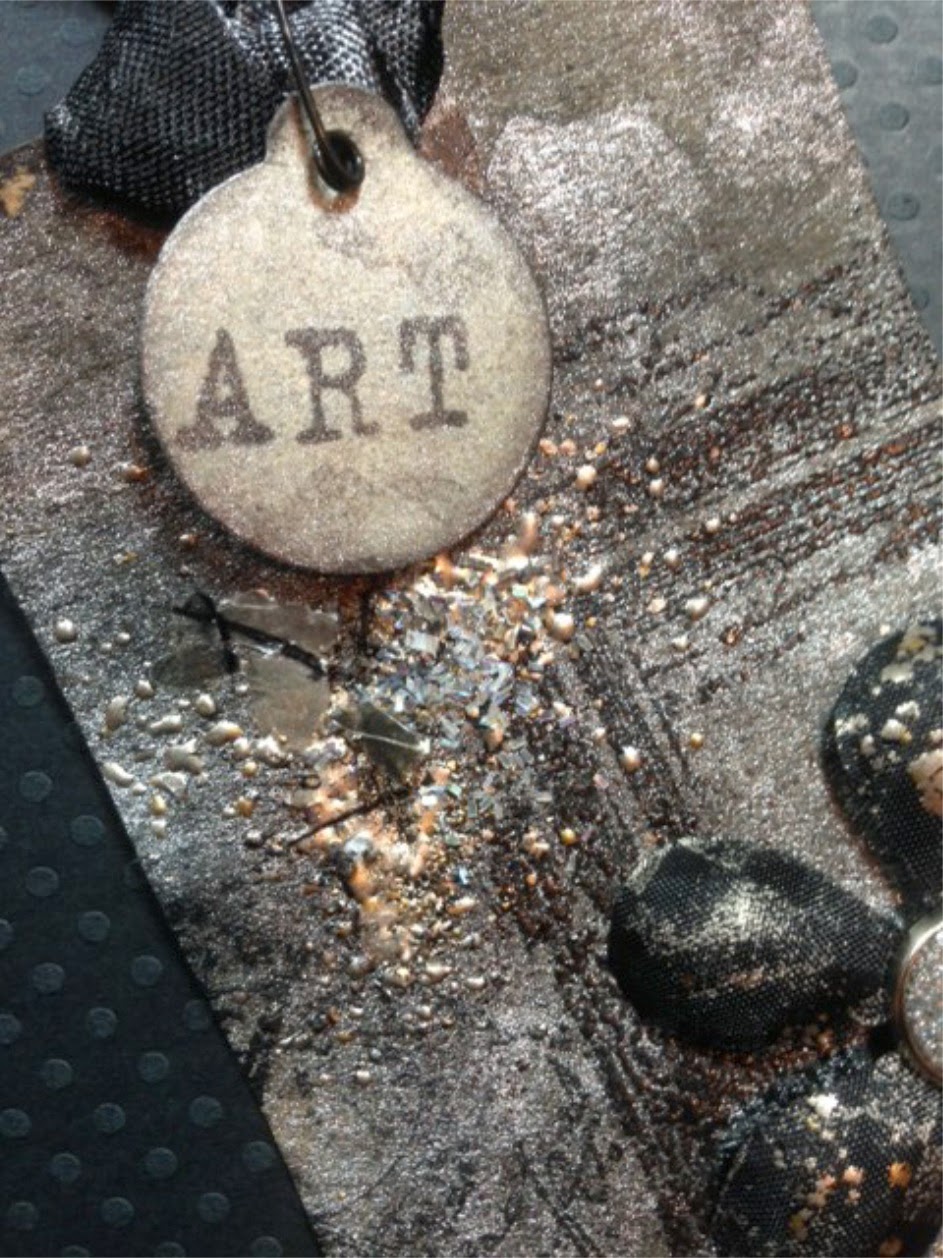
I used the Frantage method of embossing with some of the Stampendous embossing powers & glitters. I also used Distress ink & Distress stain to color the ribbon.
Quote for the day...
What art offers is space...a certain breathing room for the spirit. ~John Updike
Sunday, March 30, 2014
Monday, March 24, 2014
Saturday, March 22, 2014
Dream...some watercolor circles.
I am quite fond of circles. This is how I created this look: my card base is 4 x 8 watercolor paper, scored and folded in half. Then I punched a circle from a scrap piece of paper. Using the paper with the hole in it as my guide, I traced 3 circles with watercolor pencils. I then used my water brush to blend the color. I had a bit more of a puddle of watery color where the blue circle was, so I used my Stampin Up color spritzing tool to blow some of the colored water on to the green circle. (I am sure a straw would work equally as well) I really liked the overall look, but thought it needed something to give it a little more detail. While parts of the paper were wet, I poured clear embossing powder on it. I have never embossed with just water & watercolor, but it worked pretty well. Finished it off with a stamped word and a little bling.
Morning 3x4
A never before used Frida stamp (not sure of the brand) and a couple of Stampers Anonymous stamps. Distress inks and water. These little morning art exercises are becoming more and more enjoyable.
Friday, March 21, 2014
Morning 3x4
.
Had not used this face stamp in years. Forgot how much I like it. The butterfly stamp is from Stampin Up and I have also owned it for years.
Thursday, March 20, 2014
Wednesday, March 19, 2014
Morning 3x4's
I have been keeping a little pile of 3x4 watercolor paper ready on my art table. I am finding that I am easily inspired by these small pieces of paper. I am trying to make time every morning to create at least one piece of art.
Sunday, March 16, 2014
Cheery thank you note.
I am quite enamored by hand-drawn frames and accents at the moment. Picture on the right is of the inside of the card.
Paper Pendant
Friday, March 14, 2014
The amazing Penny Black Skyline stamp.
Who knew this stamp had so many possibilities?? Heather Telford, that's who. I have long admired her work and am constantly amazed by her creativity. See Heather's watercolor samples using the Skyline stamp here: Bits & Pieces
I am attaching a few samples I've made using the same stamp, taking complete inspiration from Heather's beautiful artwork. I have mostly used Distress inks to create these.
Saturday, December 14, 2013
DIY gift bags
I decided to try my hand at making some gift bags out of some of the extra paper I have accumulated.
I am including the link below. Here is what I did different: she said score 3 sides of your 12x12 paper 2.5 inches from the 3 edges on the first sample she made. This would make the width 2.5 inches wide and I needed it to be 3 inches wide for the gift I had. So, I scored at 3 inches on 3 sides. She uses glue. I didn't have that type, but I am going to buy some because I've heard good things about it. I just used double sided tape at strategic points. You will have all the best places for tape figured out after you have made the first one. These are quick. I did reinforce the holes on each one with a little piece of cardstock before I added the ribbon. I made several of the bags this morning, using both thin and heavier paper. The only thing I did different with the one made from thinner paper to make it sturdier was fold down the top edges. (toward the inside, do this before you put the bag together) All of the bags feel sturdy enough to put something small in. I don't think you would want real heavy gifts in any of these, but they would work great for smaller/light-weight gifts. Excuse the picture quality...it was 4am!
The video is provided by Joy of joyslife.com
gift bag tutorial
I am including the link below. Here is what I did different: she said score 3 sides of your 12x12 paper 2.5 inches from the 3 edges on the first sample she made. This would make the width 2.5 inches wide and I needed it to be 3 inches wide for the gift I had. So, I scored at 3 inches on 3 sides. She uses glue. I didn't have that type, but I am going to buy some because I've heard good things about it. I just used double sided tape at strategic points. You will have all the best places for tape figured out after you have made the first one. These are quick. I did reinforce the holes on each one with a little piece of cardstock before I added the ribbon. I made several of the bags this morning, using both thin and heavier paper. The only thing I did different with the one made from thinner paper to make it sturdier was fold down the top edges. (toward the inside, do this before you put the bag together) All of the bags feel sturdy enough to put something small in. I don't think you would want real heavy gifts in any of these, but they would work great for smaller/light-weight gifts. Excuse the picture quality...it was 4am!
The video is provided by Joy of joyslife.com
gift bag tutorial
Sunday, December 08, 2013
Sunday, August 11, 2013
Mosaic punch from Stampin Up, sheer Madness
When I saw the Mosaic Madness stamp set with matching punch, I HAD to have it. Just crazy about it! I had started this card a few days before and hadn't been able to figure out what type of detail it needed to complete the look. After I brought my new Mosaic merchandise home, I realized the punch would come in handy for more that using it with the stamp set. That shape is going to show up in lots of my artwork.
Faux Patina
I saw this technique on Splitcoast Stampers. Fell in love with elegance of it. I used various embossing folders and dies. Distress inks and gold embossing powder. I even embossed the burlap with the gold e/p.
Things With Wings
I discovered a stamp company called JustRite a few weeks ago and am in LOVE with their images, especially the Spellbinders compatible stamps. JustRite Stampers is having a challenge called Things With Wings (Friday Challenge #103). For my entry, I used several of their stamps and several different dies, including Tim Holtz, Hero Arts/Sizzix (the butterfly) and 4 different Nestabilities. This card is also entered in the Make the Cut Challenge over at Simon Says Stamp
Sunday, July 07, 2013
Subscribe to:
Posts (Atom)